Create an inexpensive and realistic brick wall, by following these easy steps outlined below.
Brick color can be painted to complement existing decor.
Materials
- Joint Compound
- Putty knife
- .7 inch Tape
- Polycrylic
- Pencil
- Measuring Tape
- Level ruler
- Classic caramel acrylic paint
STEP 1
Decide on a mortar color. Popular and neutral colors are whites and grays. Then, paint the entire accent wall that color. White is popular because it can easily coordinate with other colors. Also, painting the entire room white will brighten up the space.
Before Picture

After painting all the walls white …

STEP 2
Mark the Wall
Using a measuring tape decide on a brick size. This brick was three inches in height with various lengths. Measure out the height of the brick along the wall with a measuring tape and mark it vertically with a pencil.
With the help of a level ruler, mark all the horizontal lines. This step assures symmetry. The rows will vary in size if you do not connect your horizontal lines across the entire wall.
STEP 3
Tape the Wall
Add the tape horizontally. Then, start at one end and move across the wall as you tape the vertical pieces. Do not align vertical pieces as noted below in order to achieve a subway style.

STEP 4
Add the Joint Compound
Once taping is done, add the joint compound on all of the wall. There is no special technique to doing this. Just give it as little or as much texture as you prefer. The more texture given, the more realistic the brick will appear.
STEP 5
“Don’t take off the tape!”
Don’t take off the tape! Leaving the tape on will help you paint the bricks faster.
Very lightly paint the entire wall. Choose the colors that go best with your existing furniture and decor. You can choose between grey, brown, maroon, beige, even a blue or a combination of all of these. It is important you test a small area first. This will assure consistency throughout the wall. If you make a mistake, just repaint it with white and try again.
To prevent any mistakes, water down your initial paint application.
Either water down your color in a cup or use very little paint on your paint brush. You can also whitewash all the brick after you are done painting.
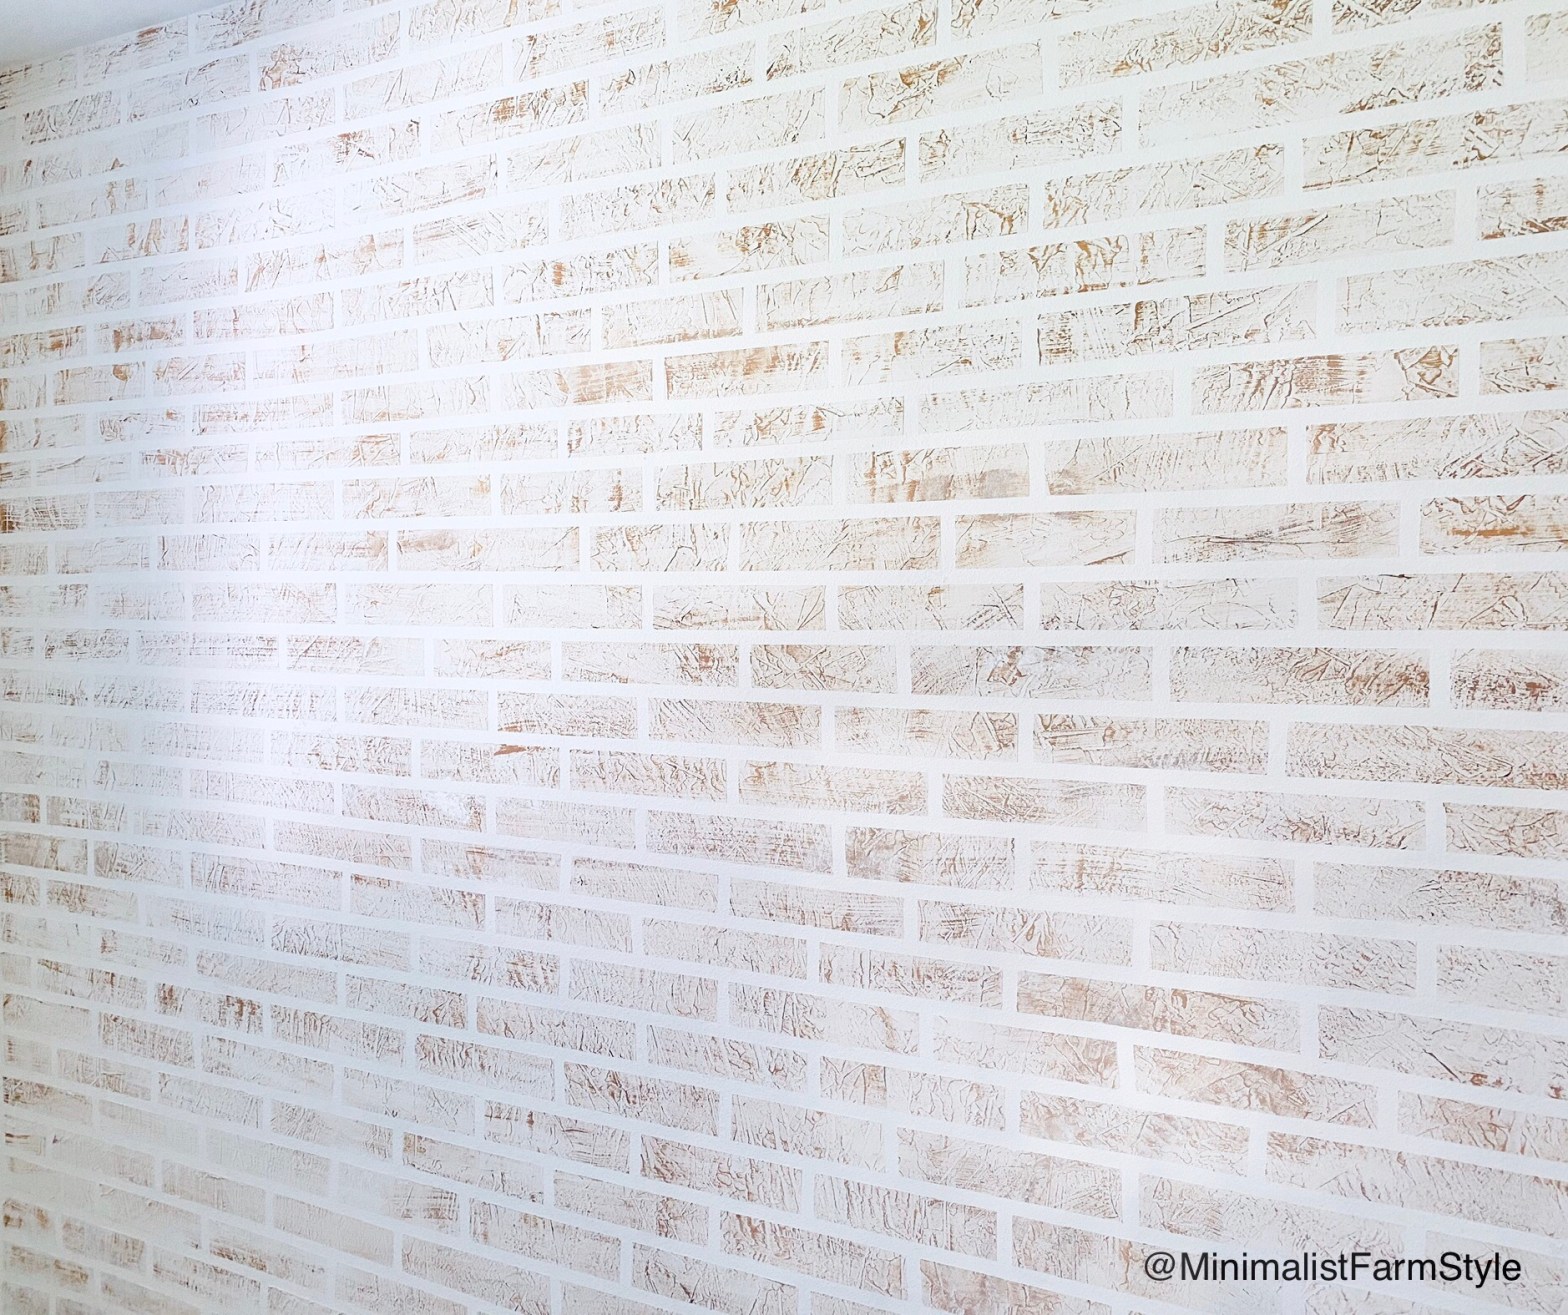
To achieve the faux brick wall below, use a very small amount of caramel acrylic paint (linked above) on a large paint brush and lightly paint across each row.

STEP 6
Remove the tape and voila!

This project was started around 11 a.m. and worked on — off and on — until 4 p.m. It is recommended that the tape be removed before the joint compound dries up.
The results are similar to that of a brick wallpaper with added texture and the ability to choose a preferred color!
STEP 7
To prevent any dust from occurring, add polycrylic to all the brick.
Note: This post contains affiliate links, at no added cost to you. As an affiliate partner of various brands, including as an Amazon Associate, I earn commission on qualifying purchases. All content is for informational and entertainment purposes. For more information, refer to the Disclaimer and Privacy page at http://www.MinimalistFarmStyle.com.

