Approximately $2,000
Get the look:
- Pre-Stained Premium Cedar Wood & Aluminum 14 x 12 Outdoor Pavilion Gazebo (non Costco member)
- 56″ Light Weight Concrete Fire Pit – 50,000 BTU
- COSTCO PRODUCT LINK (Costco members only)
- For more details on the $3 DIY Rope Curtain Tie Back and XL Curtains
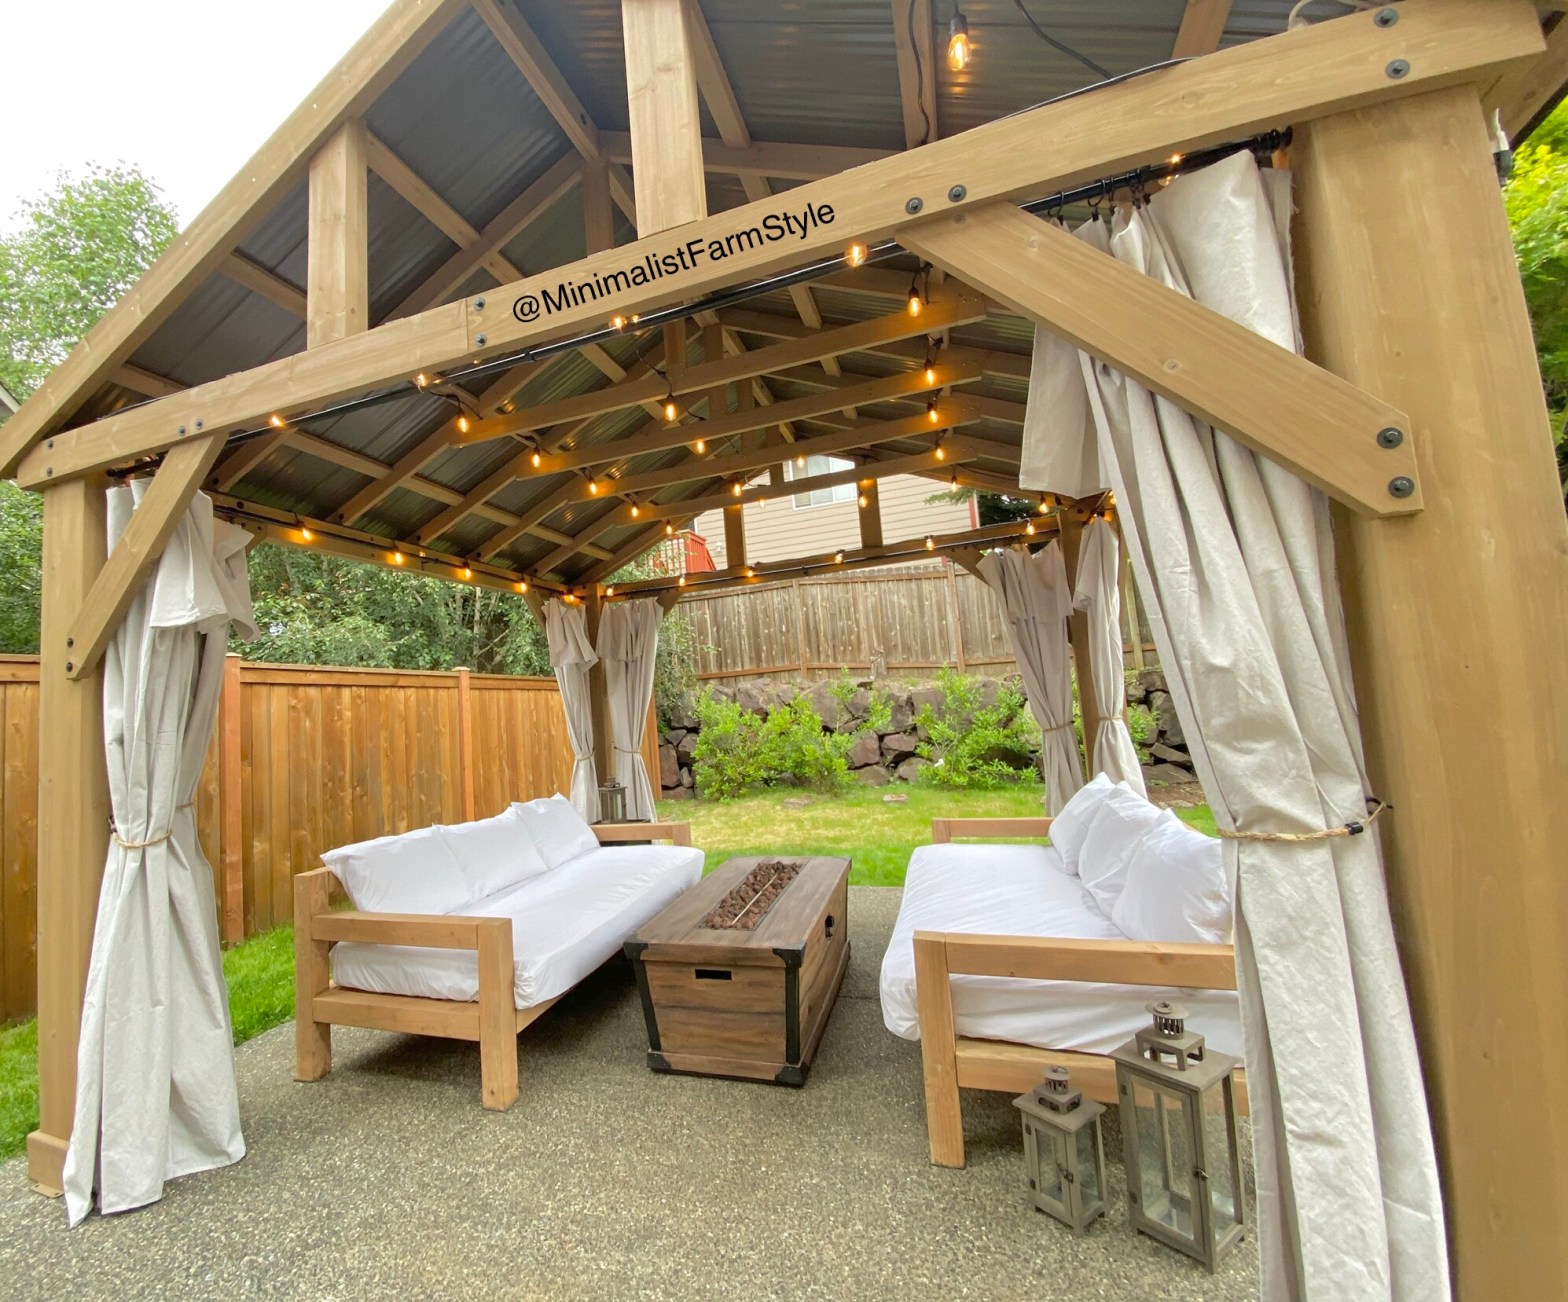
After researching different patio coverage options and taking into account price, quality and aesthetic, the best option for us was this 14 x 12 Wood Pavilion with Aluminum Roof.
Being that we live in the Pacific Northwest where it drizzles the majority of the year and where we get lots of sunshine for only two months, the aluminium roof was definitely the best choice!
What to Expect: Curbside Delivery

We ordered it from Costco’s website and it was delivered in less than a week. It came in 3 large boxes that were dropped off in front of our home. Since the boxes were heavy, we opened them up and moved each piece to our backyard.
Below are some helpful tips that make the assembly easier and help you avoid our mistakes. The last thing you want to do is ruin it!
Helpful Tips
Tools needed:
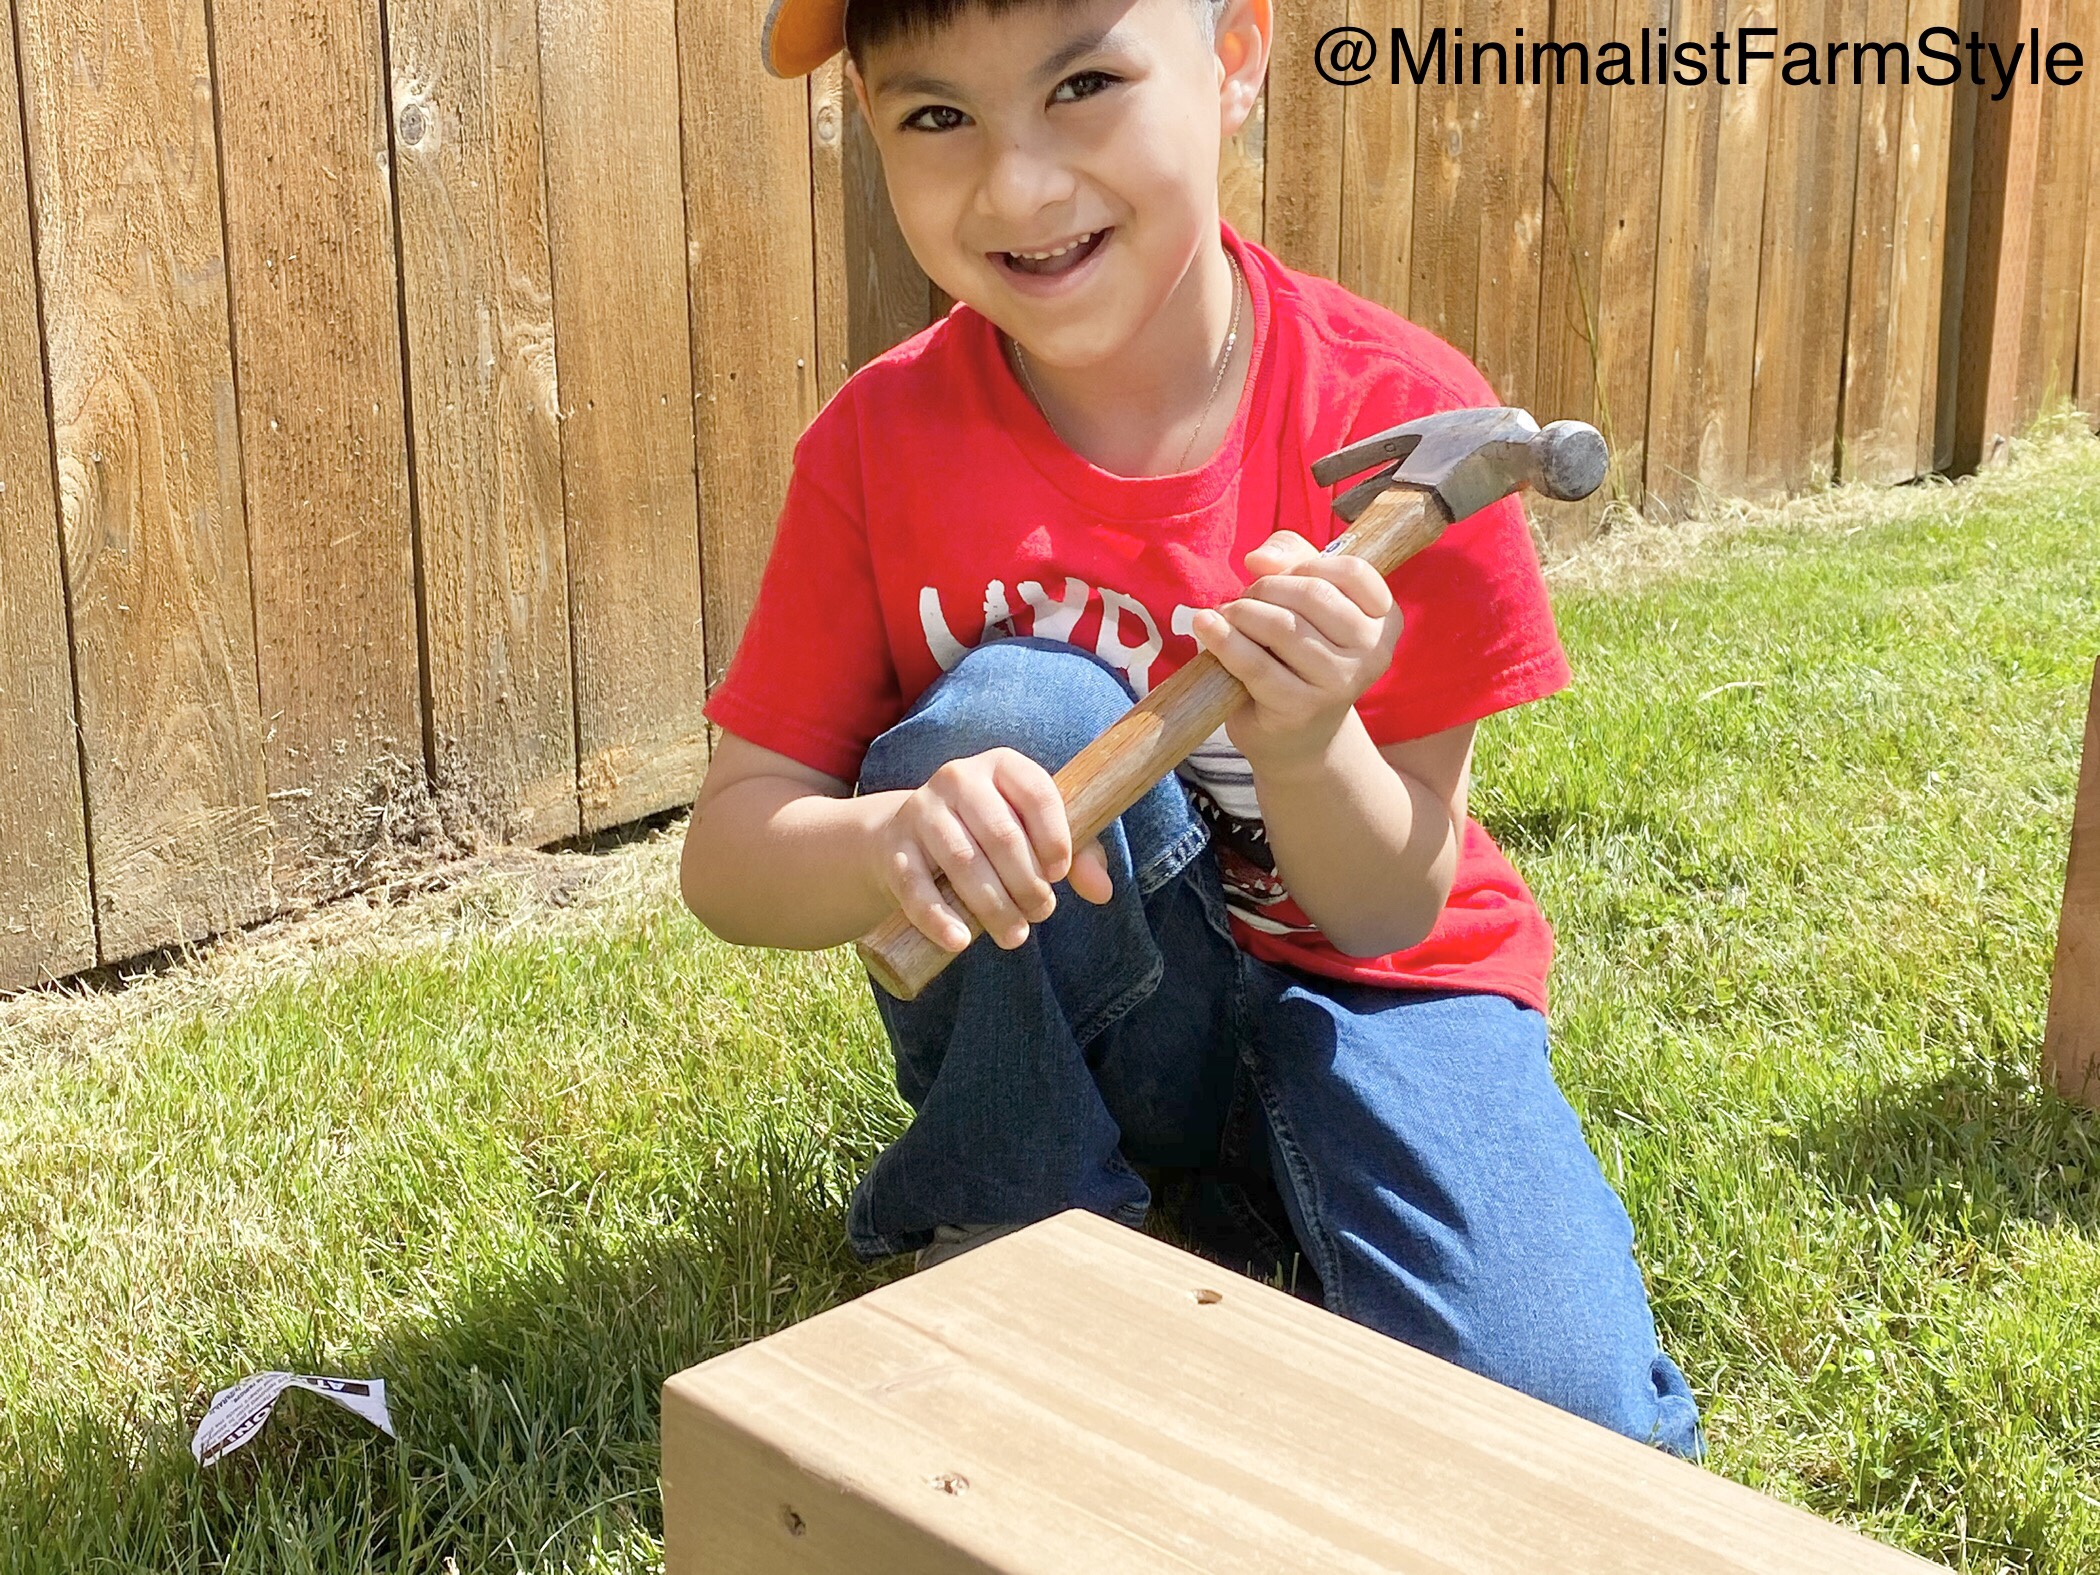
Although not necessarily, we highly recommend Knee pads or a padded mat to sit on to make for a comfortable assembly. There were a lot of times when we found ourselves on the pavement and the mats from our gym really helped.
HOA And Permits
You will need to find out if approval is required from your HOA, if you have one. Also, check your city’s website to know if you will be required to obtain a permit. Most allow patio structures but vary in the allowed square footage.
Refer to the linked step-by-step videos as you read the instructions manual:
Step 1
We had no issues with any missing or damaged parts (this step is important when you do). Therefore, don’t skip filling out the form found in the instructions manual.

Steps 2 – 4

Steps 5 – 7
My husband and I assembled everything up to this point by ourselves with ease. When it came to post assembly we did it with only three people (that was pushing our luck). Be prepared to require four people for this part unless the one assembling the beams to the posts is at least 6′ 3″ and has good upper body strength.Do not forget to use your level and 90 degree square to make sure everything is aligning correctly.
We got alarmed when our diagonal post-to-post measurements did not match exactly. This was probably because our patio floor is not perfectly leveled. Nonetheless, we faced no issues because of it as we completed the rest of the steps.

Even after completing the gable upright assembly, you might have to adjust it once the roof is installed (we had this problem). My husband had to really put his weight on one of the inside gables to finally assemble it! It was do to the the wood being curved just a bit. This was the only issue we encountered thus far.
Steps 8 to 9
To account for any curved pieces of wood, use the 90 degree square for accuracy throughout all the steps. Youtube channels that I used as reference also stressed this. Some encountered difficulty in the final steps because they did not verify the assumed 90 degree angles as they completed the previous steps!

These steps require only one person.
When installing the roof panel frame to the aluminum roof, the instructions manual recommends hand tightening the roofing screws so that they sit snug and tight to the roofing material. We carefully used the drill, but we did not hand tighten the screws; I think this causes our pavilion to creak a bit with heavy winds. Thus, don’t skip hand tightening those screws to the roofing material! You will not be able to tighten them afterwards.
Steps 10 – 13
 As you can see, you can get away with only three people to lift the roof into place, but we highly advise the use of four – specially when placing the roof panel frame on the gable upright assembly as adjustments may be needed at this point.
It took my husband and I a total of four days to complete as we only had one drill and we had our two little kids to take care of. With more help and more focus, I think we could have finished it in two.
Good luck! If you are interested, I also DIYed some beautiful Outdoor Wooden Sofas.
Note: This post contains affiliate links, at no added cost to you. As an affiliate partner of various brands, including as an Amazon Associate, I earn commission on qualifying purchases. All content is for informational and entertainment purposes. For more information, refer to the Disclaimer and Privacy page at http://www.MinimalistFarmStyle.com.


2 thoughts on “Costco Yardistry Pavilion”